

How to choose and install a raised shower tray?
Are you considering installing a raised shower tray? Good news, it is a solution that is both practical and aesthetic, ideal if a built-in floor drainage system is impossible to set up. Simple to install and accessible, it adapts to all layouts. In this guide, discover how to choose your raised tray model wisely as well as all the steps for installation.
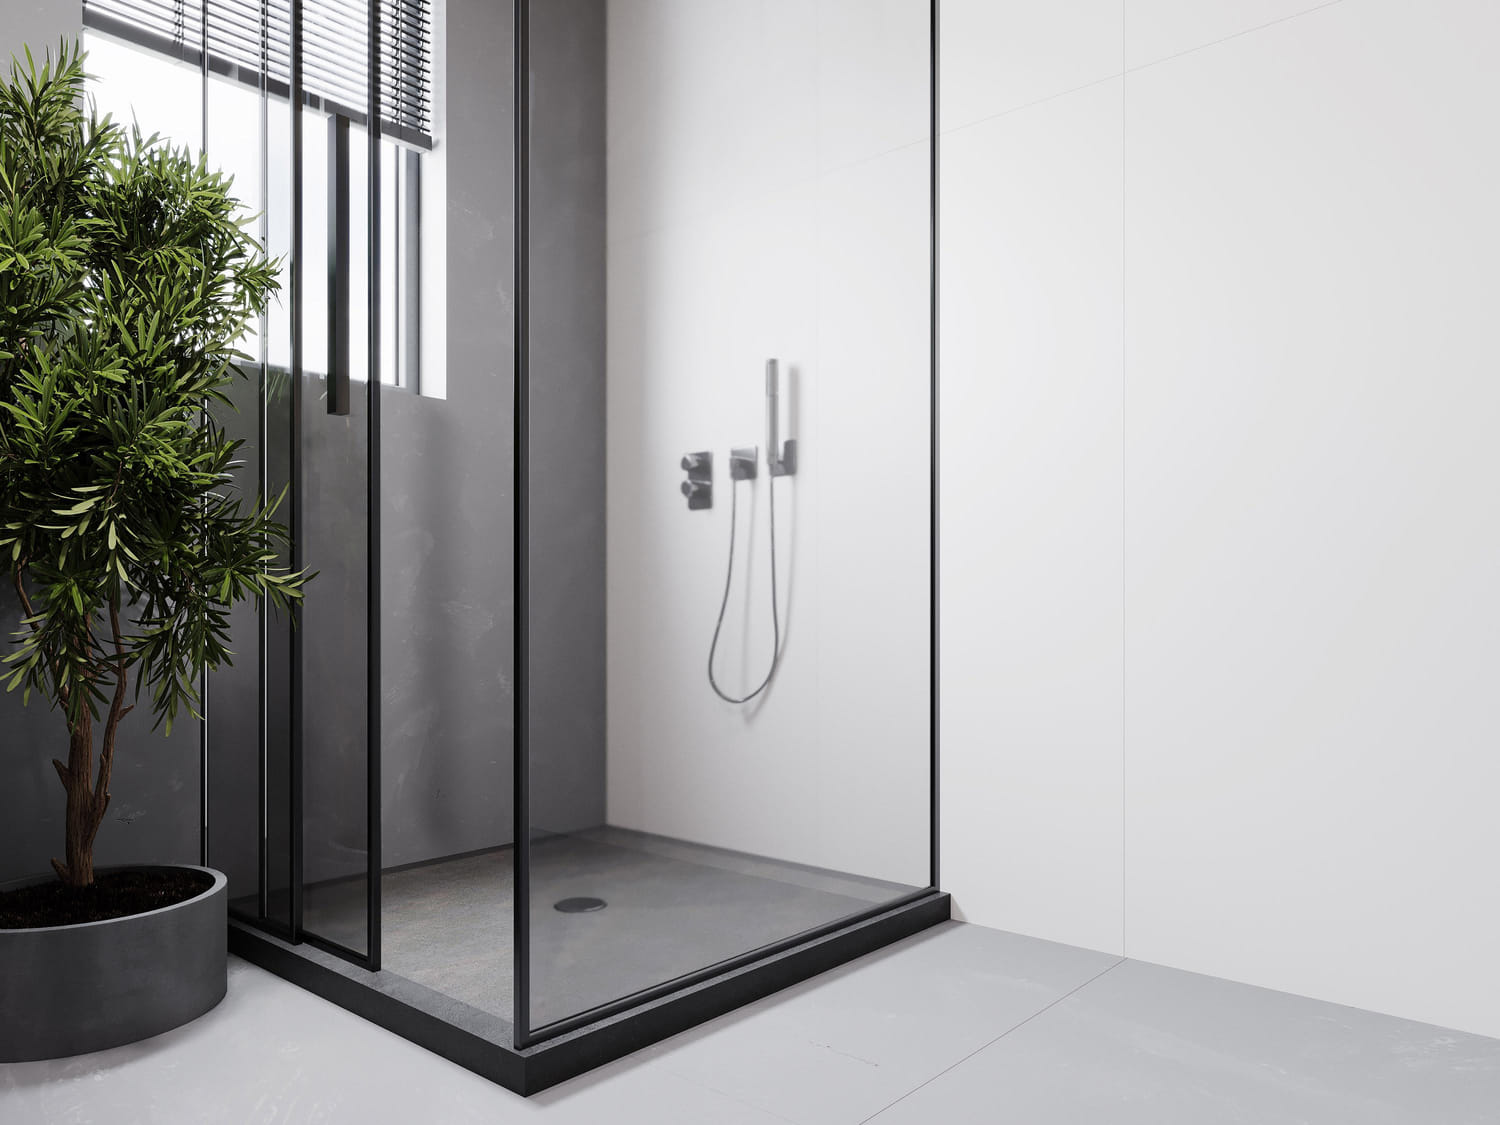
Why choose a raised shower tray?
Do you have a bathroom renovation project in an older home? Choosing a raised shower tray becomes necessary when embedding the system into the floor is complicated or even impossible. It allows you to install a shower cabin without having to carry out major plumbing work. Unlike flush-to-floor or walk-in showers, access to the drainage pipes is much easier. Installing a raised shower tray limits heavy interventions at the floor level.
Since no floor excavation is required, the installation of a raised shower tray is faster. As it limits water infiltration into the floor, this type of tray is perfectly suited for homes with floor surfaces sensitive to moisture. Since its height is adjustable, it adapts to everyone's needs (especially individuals with reduced mobility).
In addition to being practical, a raised shower tray comes in several styles and materials to integrate harmoniously into any bathroom. Certain models feature non-slip surfaces for maximum safety to reduce the risk of falls. It allows for efficient water drainage without requiring a significant slope, as is the case for a walk-in shower.
Its maintenance is simple. The fluid flow of water prevents any stagnation. It limits the growth of mould. As an economical solution for designing your shower room, its purchase price remains lower than that of a built-in drainage system.
How to choose the material of your shower tray?
Before making your choice, think about your priorities. Do you prefer a material that is easy to maintain? A stylish but premium model? A tray that is as lightweight as it is simple to install? Your decision must adapt to your lifestyle and the daily use of your shower. The material of your raised shower tray influences its appearance, its resistance, as well as your daily comfort. Take the time to compare the different options carefully.
A raised ceramic shower tray is a timeless classic. It appeals through its traditional look as well as its robustness. Easy to clean, it resists scratches and household cleaning products. Due to its heavy weight, it can crack in the event of a significant impact. If you are looking for a durable, easy-to-maintain tray, ceramic is an excellent option.
The weight of an acrylic raised shower tray is much lighter. Its main advantage lies in its soft and warm touch, which avoids a cold effect underfoot. In addition to its non-slip qualities, it is easy to handle during installation. Be aware, however, that it remains sensitive to scratches. It can also yellow over time if maintenance is not rigorous.
Raised shower trays made of resin and natural stone stand out for their modern aesthetics and solidity. These materials are ultra-resistant. They bring an elegant touch to your bathroom. Their naturally non-slip surface improves your safety. They require specific maintenance and you should plan for a more significant investment.
Installing an enamelled steel raised shower tray is a hygienic and durable option. This type of tray fears neither stains nor aggressive cleaning products. Its main drawback remains its cold touch, which can be unpleasant, as well as its weight, which sometimes complicates the installation.
How to choose the dimensions of your raised shower tray?
The size of the shower tray directly affects the comfort and ergonomics of your bathroom. To choose correctly, take into account the available space as well as your living habits. Several shower tray dimensions exist:
- The compact raised shower tray (70x70 cm, 80x80 cm): Ideal for small bathrooms or guest showers. It allows you to maximise space without sacrificing the practical side. This format is perfectly suited for studio apartments, holiday homes, or shower rooms where every centimetre counts.
- The intermediate raised shower tray (90x90 cm, 100x80 cm): An excellent compromise between comfort and footprint. These dimensions allow you to enjoy a more generous shower space without overloading the bathroom. Ideal for families for daily use.
- The large raised shower tray (120x80 cm, 140x90 cm): Guarantees a true sensation of space and well-being. It is suited for spacious bathrooms, master suites, or renovations aiming for a premium standing.
- The XXL raised shower tray (160x90 cm and more): Designed for walk-in styles or modern bathrooms where space is not a constraint. It is perfect if you are looking for a luxurious shower or optimal accessibility, particularly for individuals with reduced mobility.
How to choose a shower tray panel (plinth)
A shower tray panel (or plinth) is indispensable for masking the space beneath the tray in order to provide a finish that is as clean as it is aesthetic. It also allows easier access to the pipe connections and adjustable riser feet in case of maintenance.
Several materials are available for shower tray panels. First, acrylic is lightweight and easy to install. It adapts perfectly to shower trays designed from the same material. Tiling, on the other hand, offers a high-end finish and allows you to harmonise the shower's cladding with the rest of the bathroom. Finally, for a solution that is both economical and adaptable, PVC or treated wood are interesting options.
These materials are moisture-resistant. They can be painted or cut to fit any shower tray configuration. Before buying your panel, verify its compatibility with your shower tray. Some models are installed with a clip-on system, while others require fixing with screws or adhesive. Also ensure that it allows easy access to the waste pipe for maintenance and that it resists water and splashes well.
Step-by-step installation of a raised shower tray
Installing a raised shower tray is accessible to everyone, provided you follow the steps with precision. Take the time to prepare the area well. Verify each point before the actual installation of your raised shower tray.
Step 1: Prepare your workspace
Before starting, ensure that the floor is clean, stable, and perfectly level. Verify the location of the waste pipe and the trap. An uneven floor risks compromising your installation, leading to potential water infiltration later on.
Step 2: Install the adjustable riser feet
The adjustable riser feet allow you to adjust the height of the tray according to the water drainage pipe. Distribute them evenly under the tray to guarantee perfect stability. Check the horizontality with a spirit level. A well-balanced installation ensures optimal water flow and prevents any sagging of the shower tray.
Step 3: Position and fix the tray
Place the tray onto the adjusted feet. Ensure its correct alignment. Connect the waste trap to the drainage pipe. Test the water flow before finalising the fixing. Once in place, verify that no leaks occur at the connections. It is recommended to use silicone to seal the joints in order to avoid any risk of infiltration.
Step 4: Install the panel and apply finishes
Fix the shower tray plinth panel for a clean finish. Some models clip on directly, while others require fixing by screws or adhesive. Apply a silicone sealant bead around the edges of the tray to ensure perfect water-tightness. Smooth the joint with a damp finger for a neat result. Allow it to dry thoroughly before using the shower.
With these simple steps, your tray is ready for use. A well-executed installation is the guarantee of a durable, practical, and comfortable shower.
How to maintain your raised shower tray?
By adopting a few simple gestures, you guarantee a shower that is always clean and functional.
Clean your raised shower tray regularly using a soft cloth to apply a product suited to your tray material. White vinegar and baking soda are excellent natural alternatives to eliminate deposits without damaging the surface. Avoid abrasive products; indeed, acrylic or resin surfaces can scratch easily. Privilege non-abrasive sponges and avoid overly aggressive detergents.
Pay attention to your joints. Inspect them once a month to spot traces of mould or cracks. Clean them with a toothbrush and a mixture of hot water combined with vinegar. Change them as soon as they begin to deteriorate to avoid infiltration.
Maintain the drainage system by pouring a mixture of hot water and white vinegar into the trap once a month to dissolve soap deposits with the aim of preventing clogs.
Dry after each use. To limit limescale marks, preserve its shine, and avoid the accumulation of stagnant water, run a microfibre cloth over the tray after showering.
Finally, apply a protective treatment. If your tray is made of resin or natural stone, apply a special wax once a year to reinforce its resistance to stains as well as moisture.
Regular maintenance allows you to extend the lifespan of your raised shower tray. Cleaning avoids potential problems related to the accumulation of limescale, soap, or mould. Take care of it so that it lasts as long as possible!
